Calibration of Measurement Microphones for two frequencies – 250 Hz and 1000 Hz
The measurement microphone is part of the measurement path if you use it in a set with a sound level meter. In such a situation, there is no need to calibrate the microphones themselves. Such a necessity exists, in the situation of using the microphone as a unit standard in the laboratory. Calibration laboratories are obliged to maintain measurement consistency with the main unit standard, so they calibrate microphones in other laboratories. When calibrating measurement microphones, it is important to keep the measurement uncertainty as small as possible so that another laboratory’s measurement standard does not introduce an initial uncertainty for subsequent calibrations. At the SVANTEK laboratory, we boast a measurement capability of 0.09 dB. Currently, measurement microphones are calibrated in only 3 calibration laboratories in the country – SVANTEK Laboratory, GIG Katowice and the Central Office of Measures.


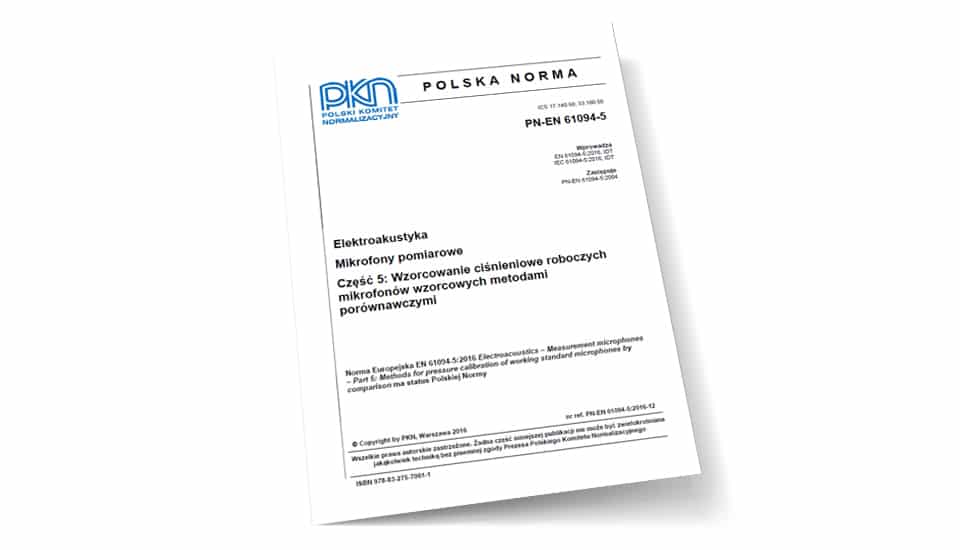
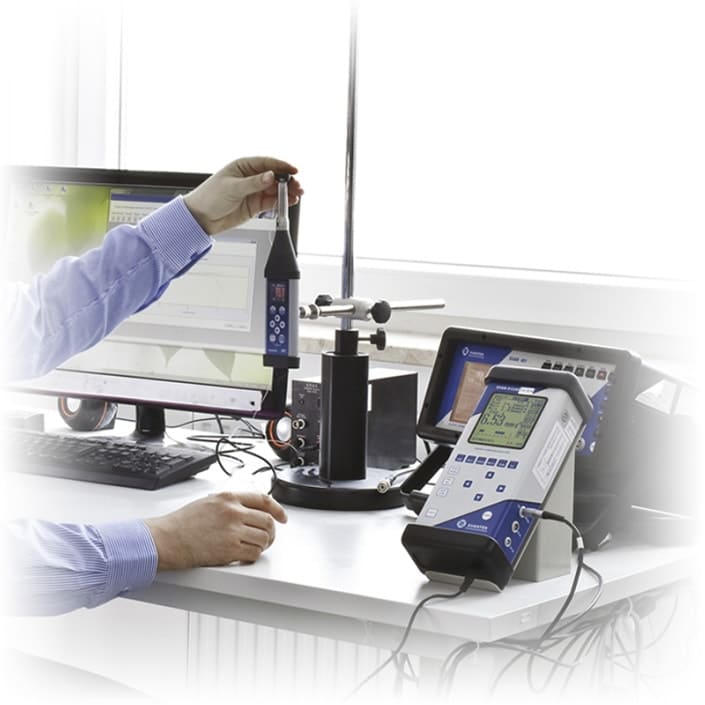
The SVANTEK calibration laboratory determines microphone sensitivity in accordance with IEC 61094-5:2016 “Electroacoustics – Measurement microphones – Part 5: Pressure calibration of working standard microphones by comparison methods.” These calibrations are carried out using the comparative method, in which the microphone under test is evaluated against a reference microphone with known sensitivity. The laboratory provides calibration at two standard frequencies: 250 Hz and 1000 Hz.
During calibration, the efficiency (sensitivity) of the reference microphone is determined . This sensitivity can be determined for two frequencies – 250 Hz and 1000 Hz. Meteorological conditions, which can have a significant impact on the microphone’s performance, are also controlled. The SVANTEK calibration laboratory in the accredited range does not determine microphone characteristics.
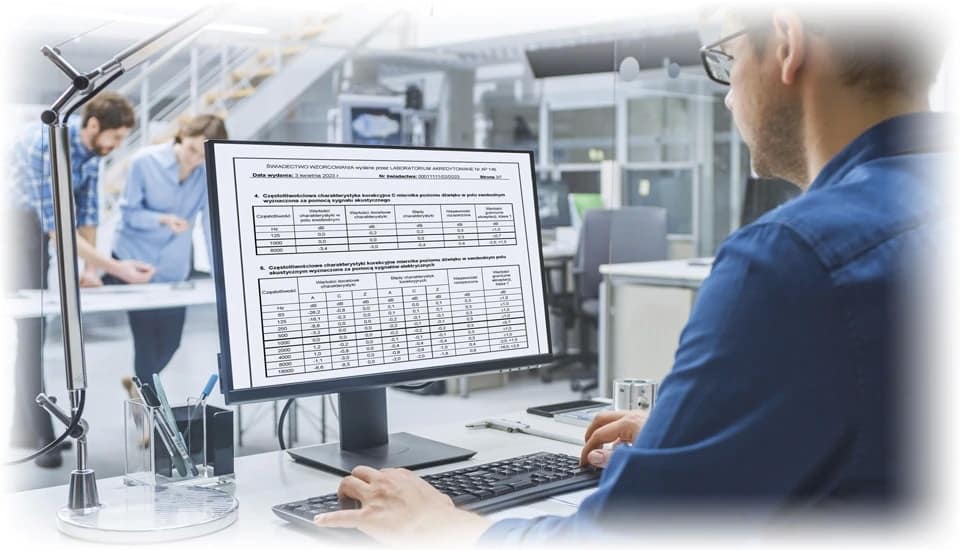
The calibration certificate for the measurement microphone includes information about the entity commissioning the calibration, the date of this calibration and the meteorological conditions in the laboratory during the calibration. In addition, the certificate also contains data about the microphone under test – its type, serial number and manufacturer. On the second page of the certificate you can find the calibration results with uncertainties presented in tabular form, as well as detailed information related to the measurement made for the calibration – that is, for example, the method used and the inclusion of the initial polarization of the 200-volt microphone.


Microphones, like other equipment delivered to the laboratory, are measured only after climatic equilibrium is reached. This usually takes several hours in the laboratory. For the measurement of the microphone itself, 3 to 4 hours are necessary. Thus, such a measurement microphone can return to the customer as early as 2-3 working days after delivery to the laboratory.