What is the meaning of instrument calibration?
The calibration of a measuring instrument lets us know how far the measurement displayed on the instrument deviates from the true value of what we are measuring. This is done by comparing the measurements from the instrument to a known. We also know the uncertainty of this measurement.
Calibration is not the same as meter verification or adjustment. Verification is when you check to see if the instrument meets certain requirements. For example, you might do this to see if a measuring system works the way it is supposed to. Adjustment is when you change the readings on a measuring device so it corresponds to the real value of what you are measuring. This is usually done after calibration.
What is the adjustment of a measuring system?
‘Calibration’ is often confused with the ‘adjustment’ of a measuring system. The adjustment is a set of operations that are done on a measuring system so that it provides the correct measurements for the quantity you want to measure. After adjustment of a measuring system, the measuring system must usually be recalibrated.
What are calibration verification and validation?
Calibration verification is the confirmation that performance properties or legal requirements of a measuring system fulfill specified requirements. Not every verification is a validation. Calibration validation is a verification process that ensures the specified requirements are adequate for the intended use.
Why do calibrations need to be done?
The four most common reasons why calibrations are necessary are:
- To ensure accuracy and consistency, metrological traceability must be established and demonstrated.
- To ensure readings from the instrument are consistent with other measurements, it is important to calibrate the device before taking any readings.
- To determine the accuracy of the instrument readings, you need to take into account any potential sources of error.
- To ensure that the instrument is reliable, i.e., that its results can be trusted.
Who calibrates equipment?
Calibration is typically done in a laboratory where the conditions are controlled. The calibration will stay accurate under the same conditions it was calibrated in.
What is ISO/IEC 17025?
The ISO/IEC 17025 is an international standard that provides general requirements for the competence of testing and calibration laboratories.
What is UKAS?
UKAS is the National Accreditation Body for the United Kingdom, appointed by the UK government, to assess and accredit organisations that provide services including certification, testing, inspection and calibration. Laboratories can be UKAS accredited to ISO/IEC 17025.
What is an accredited calibration laboratory?
An ISO/IEC 17025 accredited laboratory is a laboratory whose calibration and measurement capabilities have been accredited by UKAS. Scopes of accredited laboratories are publicly available from the UKAS website.
What calibration services does the lab offer?
The ISO/IEC 17025 calibration laboratory performs laboratory calibration services such as testing, calibration, and sampling, which are associated with subsequent testing or calibration. The laboratory uses equipment such as measuring instruments, software, or measurement standards, that are required for the correct performance of laboratory activities.
What is a calibration hierarchy?
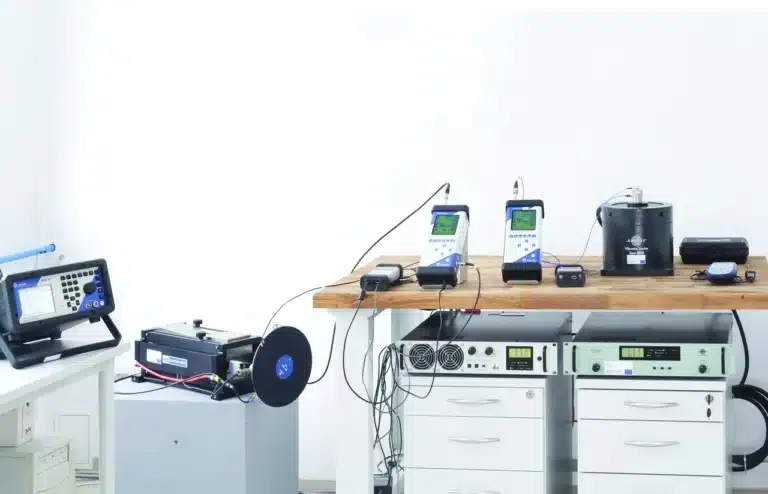
The calibration hierarchy is a sequence of calibrations from a reference to the final measuring system. The outcome of each calibration depends on the outcome of the previous calibration. The calibrations are done with measurement standards and measuring systems are operated according to measurement procedures. For example, the top institution in the calibration hierarchy may be a national metrology institute. The second level may be an accredited laboratory. The third level may be user calibration.
What is a calibration report?
The results of calibration are documented on a calibration certificate or calibration report. The associated measurement uncertainty must be stated. The information gained from the calibration can be expressed as a statement, a function, an additive or multiplicative correction of the indication, a calibration diagram, or a calibration curve.
What is a calibration diagram?
A calibration diagram is a graphical presentation of the relation between indication and corresponding measurement result. Alternative expressions of the relation between two variables include a calibration curve and associated measurement uncertainty, a calibration table, or a set of functions.
What is a calibration curve?
A calibration curve is a graph showing the one-to-one relation between indication and corresponding measured quantity value. A calibration curve does not provide a measurement result as it doesn’t contain information about the measurement uncertainty.
Useful terms
What is a metrological traceability chain?
The traceability chain is a sequence of measurement standards and calibrations that are used to relate a measurement result to a reference. A metrological traceability chain is defined through a calibration hierarchy and is used to establish the metrological traceability of a measurement result.
What is metrological traceability?
Metrological traceability is a property of a measurement result that means the result can be related to a reference. The reference can be identified through a documented unbroken chain of calibrations, each contributing to the measurement uncertainty.
What is an indication?
An indication is a number or value that is given by a measuring instrument or system.
What is the sensitivity of a measuring system?
The sensitivity of a measuring system is the amount that the indication of a measuring system changes when the corresponding value of a quantity being measured changes.
What is the stability of a measuring instrument?
The stability of a measuring instrument is the property of a measuring instrument by which its metrological properties remain constant over time. A drift is when a measuring instrument’s indication changes over time, usually because of changes in the metrological properties of the instrument.
What is instrumental measurement uncertainty?
Instrumental measurement uncertainty is calculated through the calibration of a measuring instrument or measuring system. This uncertainty arises from the use of a measuring instrument or measuring system.
What is an accuracy class?
The accuracy class is a set of measuring instruments that meet stated metrological requirements. This means that the measurement errors or instrumental uncertainties are kept within specified limits under specified operating conditions.
What is a calibrator?
A calibrator is a measurement standard used in calibration. A calibrator is often used as a reference to measure other quantities of the same kind. This helps to establish values and measurement uncertainties.
Acoustic calibration
What are the standards for the acoustic calibration of instruments?
The three parts of BS EN 61672 series standards provide the specifications for sound level meters and how they should be calibrated. Part 2 specifies the tests that need to be done to ensure that the meters meet the requirements in Part 1 (Type approval). Part 3 specifies a limited number of tests that need to be done to make sure that the meter is still working correctly (Periodic calibration).
What is the calibration process for sound level meters?
To show that a sound level meter conforms to the BS EN 61672-3 standard, it must be subjected to a series of acoustic and electrical tests. Electrical tests are done by replacing the microphone with an electrical signal input device whose impedance loading (or capacitance) is equivalent to that of the microphone. The sound level meter is also tested in different temperature and humidity ranges. The standard specifies these ranges and how the meter will respond to external radio-frequency radiation. In addition, all configurations (including windscreen and installed optional facilities) stated in the instruction manual as conforming to BS EN 61672-1 must be tested. The self-generated noise of each model of microphone specified for use with the sound level meter must also be measured.
How often sound level meter should be calibrated at the laboratory?
According to ISO 1996-2, compliance of the sound pressure level measuring instrument, the filters, and the sound calibrator shall be verified by the existence of a valid certificate of compliance with the measurement parameters specified in the relevant test methods in BS EN 61672-3[4], BS EN 61260 and BS EN 60942, or equivalent.
All compliance testing shall be conducted by a laboratory meeting the requirements of ISO/IEC 17025 to perform the relevant tests and calibrations and ensure metrological traceability to the appropriate measurement standards. The recommended time interval for testing system performance is once a year. The maximum allowable interval between tests is 2 years.
When the sound level meter should be adjusted?
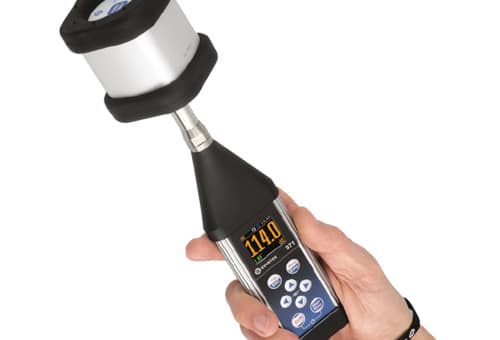
The sound level meter should be adjusted at the calibration check frequency of the sound calibrator to indicate the required sound level for the environmental conditions under which tests are performed. According e.g. BS 4142, the sound level meter shall be field-calibrated before measurements. A field calibration without adjustment shall be performed at the end of measurements. If sound level indication at calibration check frequency differs more than 0.5 dB the results of measurements shall be discarded.
Do the calibration of equipment for class 2 and class 1 differ?
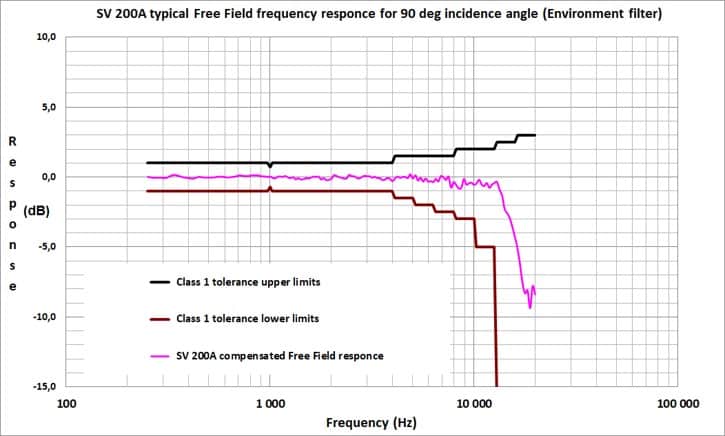
The BS EN 61672-3 Standard requires the same periodic tests for both class 1 and class 2 equipment, but the frequency range to be tested and tolerances vary depending on the type of test.
How noise dosimeter is calibrated?
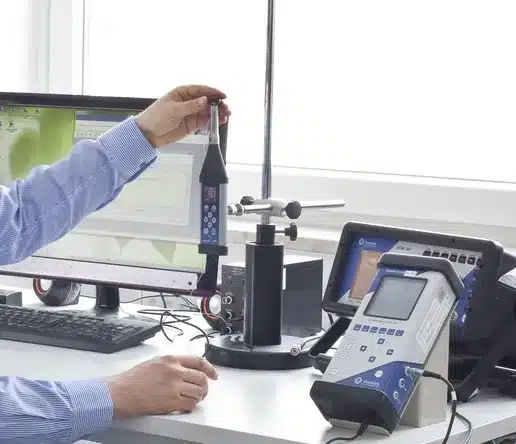
Noise dosemeters should be calibrated periodically at accredited laboratories following procedures described in BS EN 61252. The test is similar to those of sound level meters as following BS EN 61672; a noise dosemeter’s performance is the same as class 2 sound level meters by BS EN 61672-1 for an A-weighted sound pressure level range from 70 dB to 137 dB and a nominal frequency range from 20 Hz to 8 kHz.
The field calibration follows the ISO 9612 guidelines. A noise dosimeter shall provide a means for the user to check and adjust sensitivity at the calibration check frequency using a sound calibrator to optimize its electroacoustical performance over the complete frequency range. Following BS EN 61652, the sound calibrator shall conform to either class 1 or class 2 specifications of BS EN 60942. In case measurements are performed to ISO 9612, a class 1 sound calibrator is required.
What is the use of a sound calibrator?
According to BS EN 61672-1, a sound calibrator is used for checking and adjusting the sensitivity of the sound level meter to optimize electroacoustic performance over the complete frequency range. The calibrator for class 1 sound level meters needs to meet the performance requirements of class 1 as specified in BS EN 60942. The calibrator for class 2 sound level meters needs to meet the performance requirements of either class 1 or class 2, as specified in BS EN 60942.
How often sound calibrator should be calibrated?
Following e.g. BS 4142, the calibration of the sound calibrator shall be verified at a UK traceable laboratory at intervals not exceeding one year.
What is the difference between pattern evaluation and periodic verification?
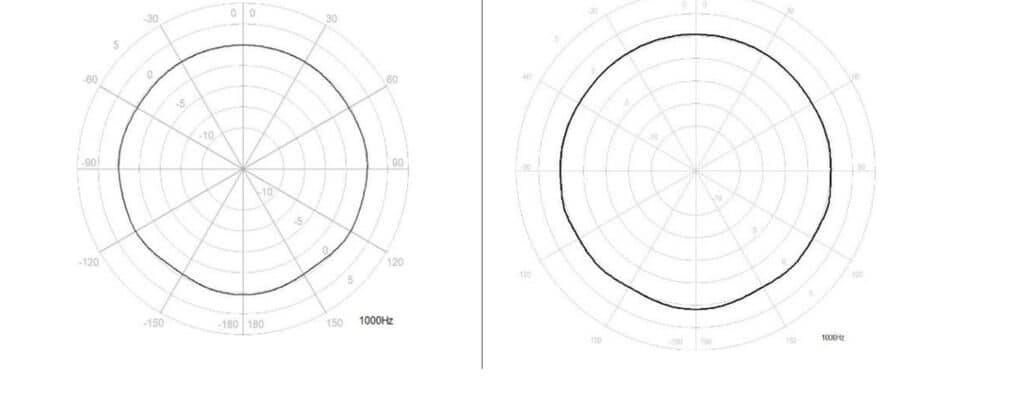
Pattern evaluation tests specified in BS EN 61672-2 are more thorough than the periodic tests specified in BS EN 61672-3 and include directional response measurements.
What is the calibration check frequency?
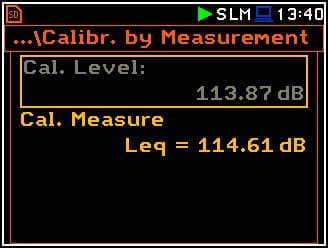
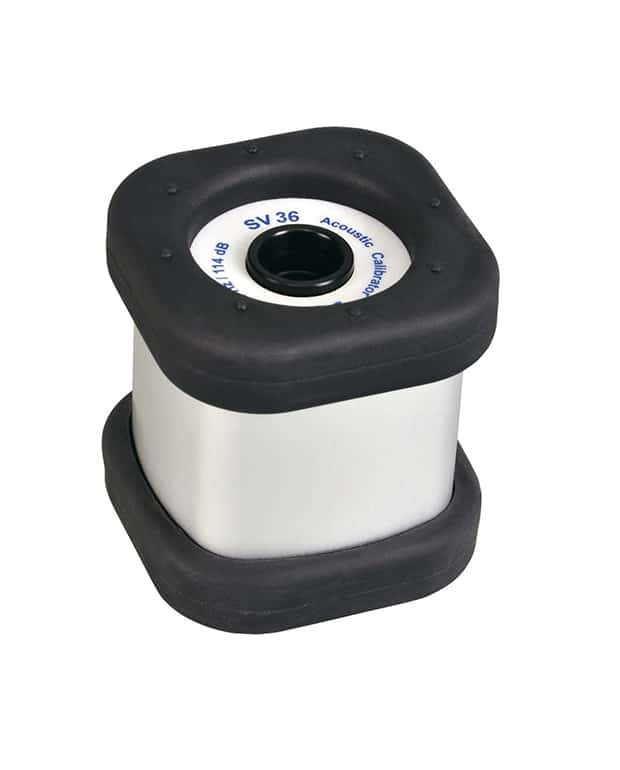
Calibration check frequency is a nominal frequency of a sinusoidal sound pressure produced by a sound level calibrator. For example, the SV 36 sound level calibrator produces a calibration check frequency of 1000 Hz (1 kHz).
What is a field calibration?
According to e.g. BS 4142, field calibration is an acoustic check of a sound level meter including the microphone with the use of a sound calibrator meeting class 1 performance of BS EN 60942:2003. Field calibration shall be performed in a quiet location before and after a daily series of measurements.
What is a remote calibration?
Remote calibration is an automatic check to indicate whether the system is functioning correctly or is potentially defective. The results of the automatic operation check system are not used to adjust the measurement results. For long-term sound monitoring of several days or more, standards may require checking the operation of any sound monitor at least once per day
Vibration calibration
How vibration sensors are calibrated?
Following BS ISO 16063-21 vibration sensors are calibrated by comparison to reference transducers in the range of 0.4 Hz to 10 kHz. The ISO vibration calibration methods apply for various applications including human, machine, and building vibration. ISO 16063 has replaced the former series of ISO 5347 describing methods for calibration of vibration sensors.
What is a vibration calibrator?
A vibration calibrator is a device based on an inbuilt vibration shaker and reference transducer producing mechanical vibrations of a known amplitude and frequency. According to BS EN ISO 8041:2017, a vibration calibrator generates mechanical vibration with specified characteristics to excite a vibration transducer for in situ checks of vibration sensitivity.
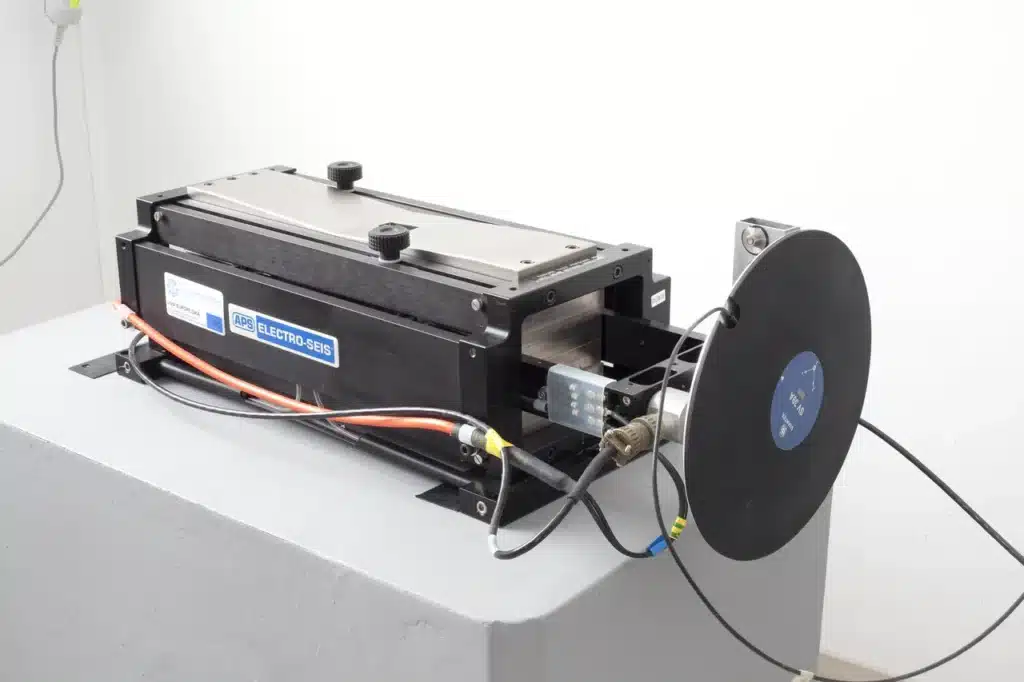
What is a reference transducer?
A reference transducer is calibrated under reference conditions by primary means and with documented uncertainty. The reference transducer can be mounted on top or underneath the sensor to be calibrated. In vibration calibrators, the reference transducer may be an integral part of a moving element (calibration plate).
What is a vibration plate?
A vibration plate or vibration table is a flat coupling surface of a vibration calibrator to which the vibration transducer is mounted.
What is a reference vibration signal?
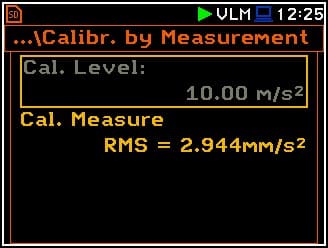
A reference vibration signal is a sinusoidal vibration signal, with a specified magnitude and frequency for testing the electromechanical performance of a vibration meter. Following BS EN ISO 16063-21, the preferred calibration frequency for accelerometers is 160 Hz, and the reference acceleration amplitude at 10 m/s2.
What is a reference vibration value and frequency for human vibration meters?
According to BS EN 8041:2017, the reference vibration signal for hand-arm vibration metes is 10 m/s2 at 80 Hz and 1 m/s2 at 16 Hz for whole-body vibration meters.
What calibration types apply to vibration meters?
Following the standard, vibration calibration refers to three levels:
- pattern evaluation at a national metrology institute – a calibration test used for product type testing or pattern approval of a production series of vibration measuring instruments
- periodic verification at the accredited lab – a set of calibration tests performed periodically (e.g. every 2 years)
- in situ check performed by users – a minimum set of calibration testing, indicating that a vibration measuring instrument is likely to be functioning within the required performance specification.
How often a vibration meter should be calibrated?
Vibration meters should be calibrated periodically at least every 2 years at UK traceable laboratory to verify that the performance remains within the specifications.
What is the difference between electrical and mechanical vibration tests?
The mechanical frequency response tests of the vibration instrument are determined on a vibration calibrator (shaker) by a comparison method with a calibrated laboratory reference vibration transducer. Electrical tests use sinusoidal electrical signals that are applied to the electrical input of the vibration instrument.
What are the calibration results?
Calibration results include values of calibration frequencies and vibration amplitudes, values of sensitivity magnitude, and expanded uncertainty of the calibration.
What information is in the calibration report?
The calibration report contains information about:
- the calibration method and instrumentation with calibration due dates,
- ambient conditions under which tests were performed
- mounting technique
- amplifier settings
- calibration results
